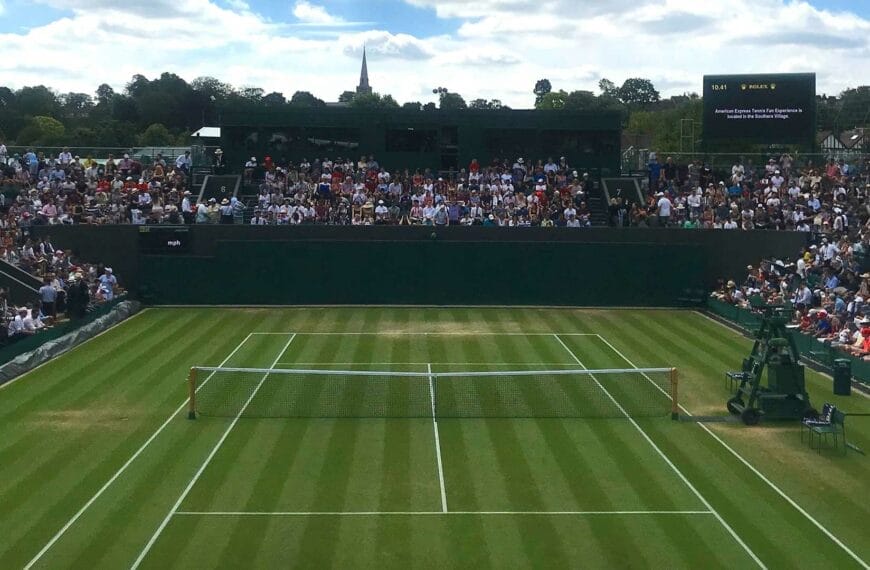
Building a grass tennis court is not merely an exercise in landscaping; it’s a meticulous blend of art and science, akin to crafting a bespoke suit where every detail counts. With tennis making a comeback in suburban communities and private estates, the allure of a grass court synonymous with the elegance of Wimbledon is undeniable. However, the process is not for the faint-hearted or the ill-prepared. It requires precision, patience, and a healthy dose of passion for the sport. Let us dive into the nuanced steps necessary to create your tennis haven on grass.
Build a Grass Tennis Court
Learn the essential steps to construct a grass tennis court from the ground up. – Selecting the right location is crucial; it should have good drainage and minimal shade. – The standard dimensions for a grass tennis court are 78 feet long and 36 feet wide for doubles play. – Proper maintenance, including regular mowing and watering, is key to keeping the court in playable condition.
Step 1: Choose the Right Location
Location is the heartbeat of your tennis court. The perfect site is flat, well-drained, and preferably oriented north-south to minimize sun glare during matches. I once attempted to shortcut the process by choosing a site based purely on its picturesque view. The result was a swampy court after every rain, teaching me the hard way that aesthetics must bow to practicality.
Insider Tip: The ideal site is one that naturally sheds wate. Test drainage by saturating a small patch of the site with water and observing how quickly it dries.
Moreover, proximity to your residence or clubhouse and accessibility to maintenance equipment should guide your decision. A secluded spot might offer privacy, but if it’s a logistical nightmare to maintain, you’ll quickly regret it.
Learn more about selecting the perfect site for your court here.
Step 2: Choose the Right Dimensions
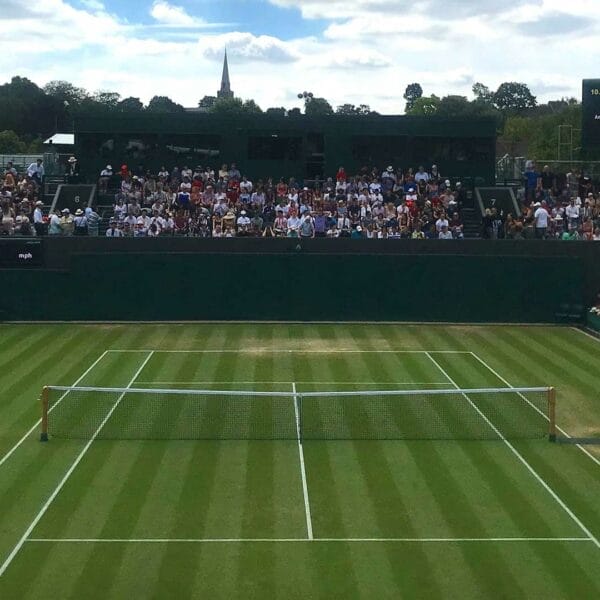
The standard dimensions for a tennis court are 78 feet long and 36 feet wide for doubles matches, with a slightly narrower width of 27 feet for singles. However, these measurements only cover the playing area. You must account for additional space around the court for safety and ease of movement, bringing the total to at least 120 feet by 60 feet.
When I built my first court, I underestimated the importance of extra space, leading to cramped sidelines that hampered play. Expanding it later was costly and labour-intensive, a mistake I won’t repeat.
Insider Tip: Consider future enhancements. Allocating extra space for potential additions like seating or a small pavilion can save headaches down the road.
Explore more about the appropriate dimensions for tennis courts here.
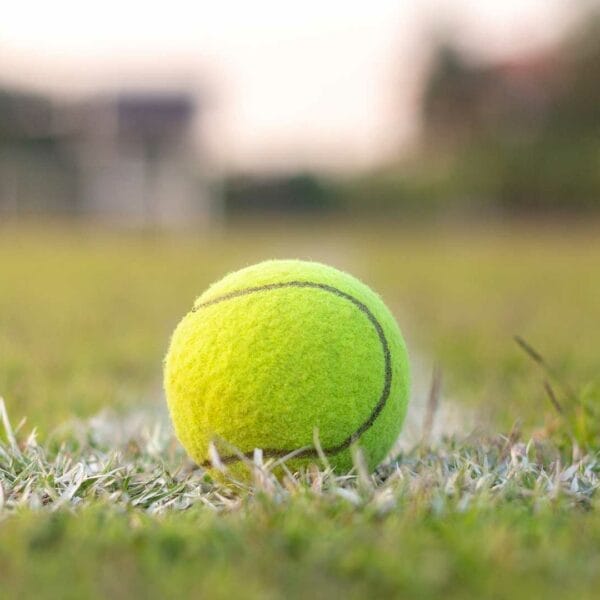
Step 3: Choose the Right Surface
The grass species you choose will significantly impact the quality and maintenance of your court. Perennial ryegrass is a popular choice due to its fine texture and robustness, offering a balance between playability and durability. In contrast, Bermuda grass, often used in warmer climates, provides a lush, dense surface but requires more maintenance.
During my court construction, I initially opted for Kentucky bluegrass. It looked stunning but couldn’t withstand the rigorous play, forcing me to re-sow with perennial ryegrass, a decision that transformed the court’s performance.
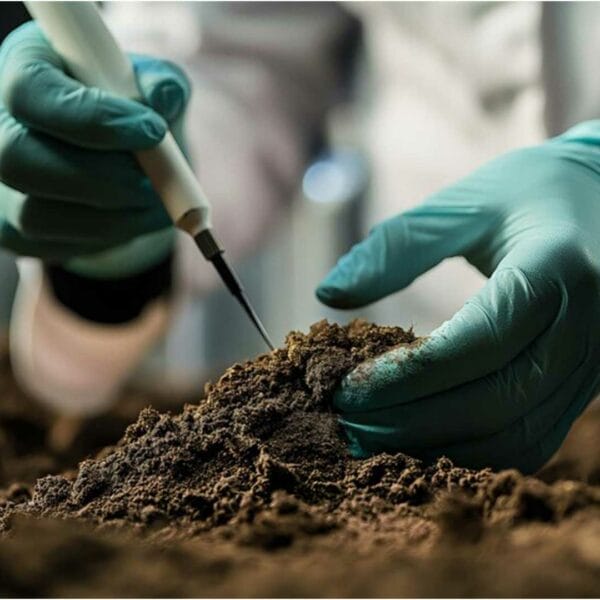
Insider Tip: Consider the local climate and soil conditions. A grass type that thrives in your region will reduce maintenance and improve the playing experience.
Discover more about choosing the right grass surface here.
Step 4: Build the Base
The foundation of your grass court is crucial. Start by removing existing vegetation and debris, then level the ground meticulously. Uneven surfaces lead to inconsistent ball bounces and player injuries. Installing a drainage system is non-negotiable; use perforated pipes arranged in a herringbone or grid pattern to prevent waterlogging a critical step I learned after my early court flooded during a downpour.
Compact the soil base firmly, using a sandy-loam mixture to facilitate grass growth and drainage. This base layer is the backbone of your court, ensuring stability and resilience.
Insider Tip: A well-compacted base is your court’s best friend. Don’t rush this step; it pays dividends in longevity and performance.
Read more about building a drainage system here.
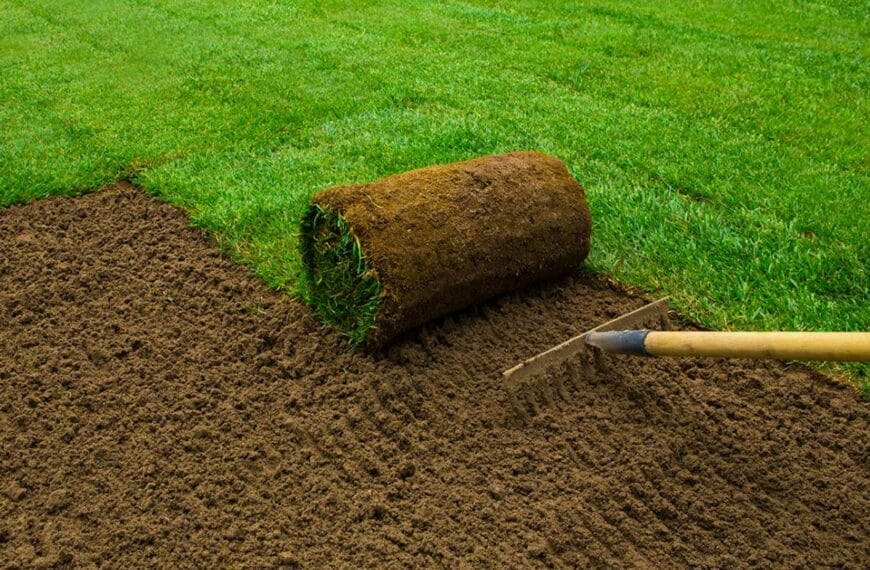
Step 5: Lay the Surface
After building a stable base, it’s time to lay the grass surface. Begin by sowing grass seeds evenly across the court. Using a seed spreader can ensure uniform coverage, crucial for a consistent playing surface. Water the seeds adequately, maintaining moisture without over-saturating, which can lead to fungal diseases.
During my first sowing attempt, I underestimated the watering needs, resulting in patchy growth. Investing in a reliable irrigation system solved this issue, allowing for precise water application.
Insider Tip: Regular rolling is essential. It helps flatten the surface, reducing bumps and ensuring even grass growth.
Learn more about turf installation for tennis courts here.
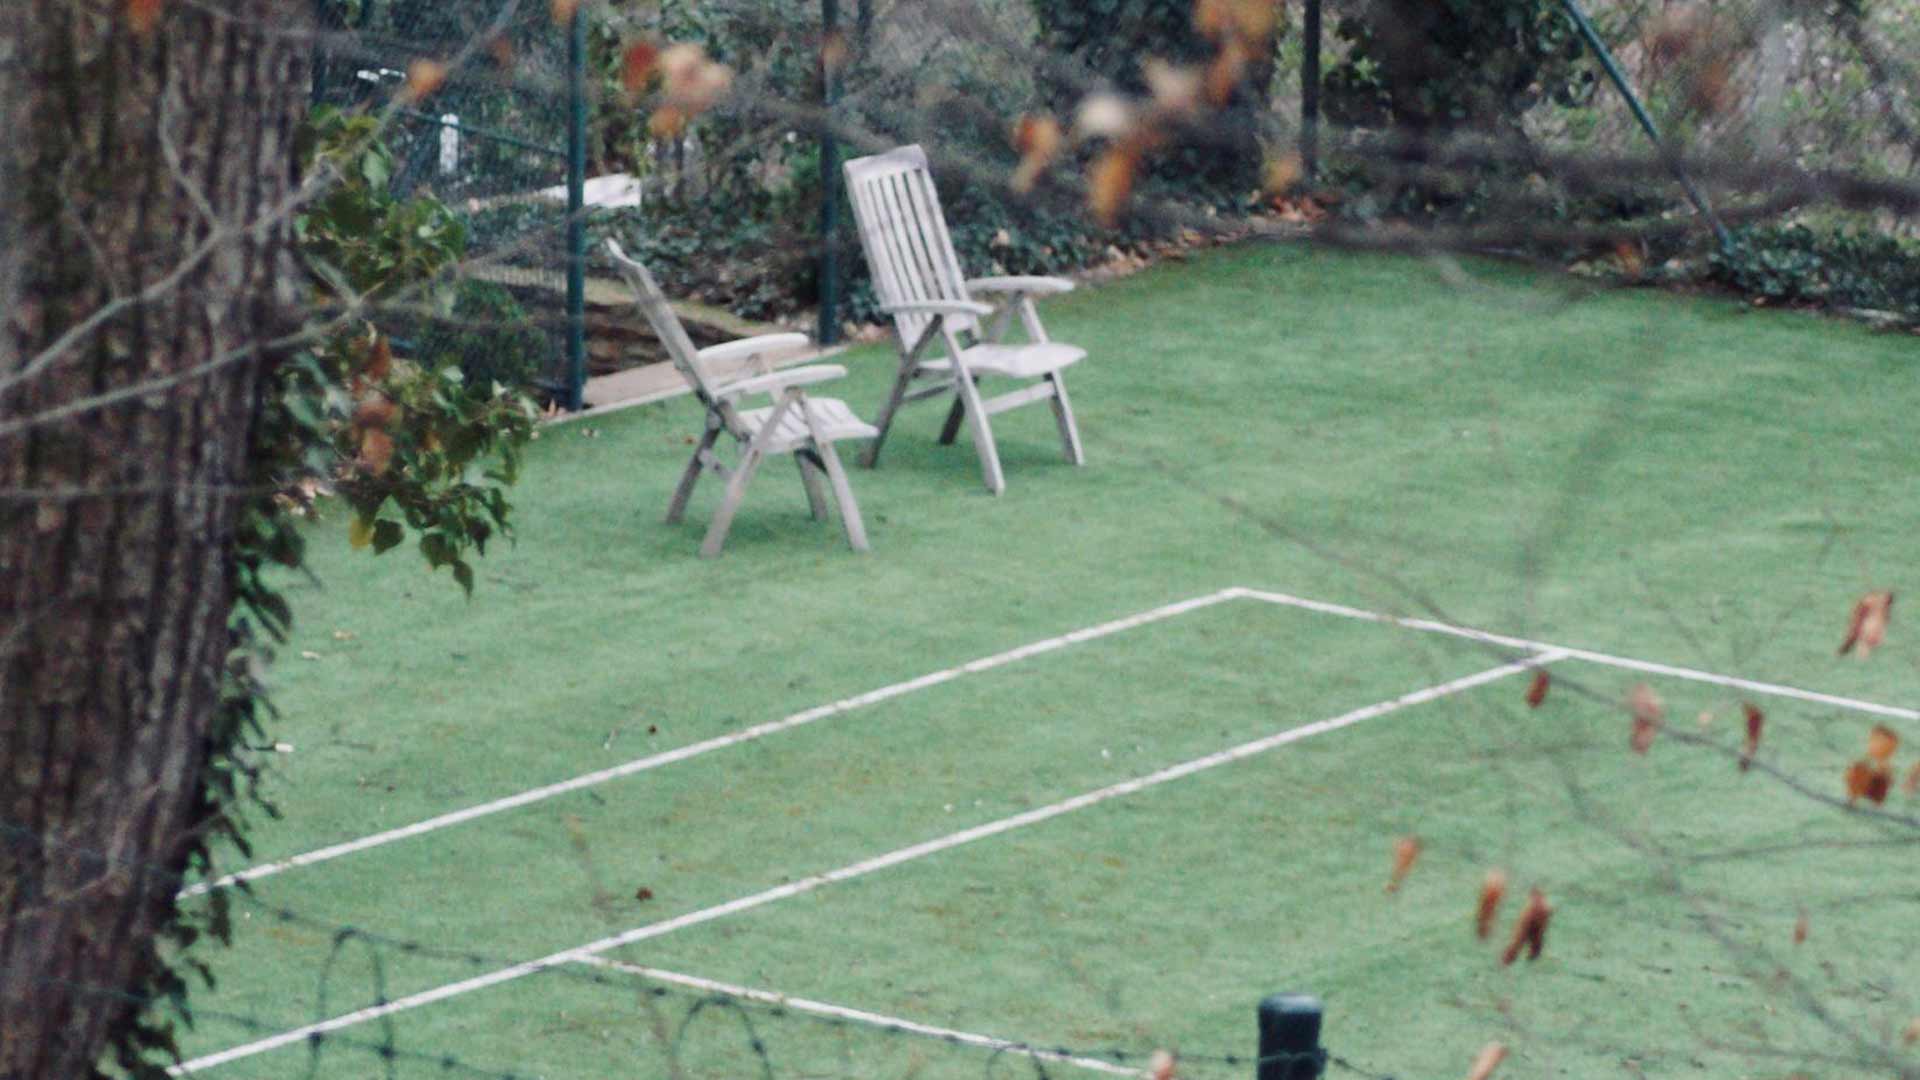
Step 6: Add the Lines
Marking the court lines is where precision meets art. Use durable, non-toxic paint specifically designed for sports surfaces. Chalk or white paste can be alternatives, but they require frequent reapplication. The lines must be 2 inches wide, with the baseline slightly thicker for visibility.
On my court, I initially used chalk, which faded quickly in wet conditions. Switching to a specialized sports paint saved time and effort, providing a long-lasting solution.
Insider Tip: Invest in a line-marking machine for accuracy. It ensures straight, consistent lines that stand the test of time.
Find more about marking tennis court lines here.
Step 7: Add the Net
The net is the most iconic feature of any tennis court. Install sturdy net posts at the centre of each sideline, ensuring they’re securely anchored. The net should be 3 feet high at the centre, with taut tension to prevent sagging.
In my experience, investing in a high-quality net system with adjustable tension controls was key to maintaining the net’s integrity and performance.
Insider Tip: Regularly check the net height and tension. It affects play quality and can wear out quickly if neglected.
Explore more about installing tennis court nets here.
Step 8: Maintain the Court
Once your court is built, maintenance becomes an ongoing project. Regular mowing, watering, and rolling are essential to keep the grass healthy and the playing surface smooth. Fertilize the grass periodically to promote robust growth and resilience.
I learned the hard way that neglecting these tasks can quickly lead to a worn, unplayable court. Setting a maintenance schedule helped me keep track of and manage the workload efficiently.
Insider Tip: Aerate the soil annually to prevent compaction. It enhances root growth and improves drainage.
Read more about maintaining a grass tennis court here.
Conclusion
Building a grass tennis court is a rewarding endeavour that demands dedication, precision, and a passion for the sport. Each step, from selecting the location to ongoing maintenance, is crucial in creating a court that offers both aesthetic delight and excellent playability. Heed the lessons from my experiences and the insights of industry experts to navigate the challenges and triumphs of this intricate process. With careful planning and execution, you can enjoy the timeless elegance and thrill of playing tennis on your very own grass court.
Common Questions
Q: Who can help me build a grass tennis court from scratch?
A: You can hire a professional contractor with experience in tennis court construction.
Q: What materials do I need to build a grass tennis court?
A: You will need quality grass seed, soil, sand, and proper drainage materials.
Q: How do you prepare the ground for a grass tennis court?
A: Clear the area, level the ground, and add drainage before planting.
Q: What is the ideal size for a grass tennis court?
A: The standard size for a grass tennis court is 78 feet by 36 feet.
Q: How long does it take to establish a grass tennis court?
A: It typically takes several months for grass to establish fully and be playable.
Q: I’m concerned about maintenance; is it worth building a grass court?
A: While maintenance is required, many find the playability and feel worth it.