Building a grass tennis court is an endeavour that merges the artistry of landscape design with the precision of sports engineering. It’s not just about laying down some sod and calling it a day. No, creating a grass tennis court requires meticulous planning, an understanding of the nuances of turf management, and a commitment to maintenance. For those who dare to embark on this journey, the rewards are significant; a tennis court that embodies tradition, elegance, and a unique playing experience that no other surface can replicate. But can a clay or hard court be converted into a grass court? The short answer is yes, but the process is intricate and requires a detailed understanding of the underlying principles of each surface type.
Converting Courts to Grass
Learn how to convert a clay or hard court into a grass tennis court by following key steps. – Yes, a clay or hard court can be converted into a grass court by properly preparing the sub-base and laying down grass. – The right dimensions for a tennis court should be maintained, typically 78 feet long and 36 feet wide for doubles play. – Regular maintenance of the grass is essential for optimal playing conditions, including mowing, watering, and fertilizing.
Step 1: Find the Right Location
Choosing the right location is the cornerstone of building a successful grass tennis court. Ideally, the site should be flat or gently sloping, with good drainage capabilities and abundant sunlight. A well-draining location ensures that the court remains playable after heavy rain, preventing waterlogging and promoting healthy grass growth.
Insider Tips:
- Expert Opinion: Selecting a location with natural windbreaks such as trees or shrubs can protect the court from the elements without compromising sunlight.
Accessibility is another factor to consider. The court should be easily reachable from existing club facilities or residential areas, ensuring that it’s user-friendly for players and maintenance crews alike. Avoid areas with excessive shade or near large trees, as they can cast shadows and compete for nutrients with the grass.
Step 2: Get the Right Dimensions
Once the location is secured, it’s time to focus on the dimensions. A standard singles grass tennis court measures 78 feet long and 27 feet wide, while doubles courts extend to 36 feet in width. However, it’s crucial to include additional space around the perimeter for player movement, fencing, and potential audience seating.
Considerations:
- Regulation Size: Ensure the court adheres to the International Tennis Federation (ITF) standards, especially if you plan to host official tournaments.
- Future Modifications: Plan for potential expansions or additional features like lighting and seating.
Precision is key here. Any deviation can affect playability and the overall aesthetic. Use stakes and string to mark out the area, ensuring everything is perfectly aligned before proceeding to the next steps.
Step 3: Prepare the Sub-Base
The sub-base is the foundation upon which everything else rests. It’s paramount that this layer is stable and well-prepared to prevent future issues such as uneven playing surfaces or poor drainage. Begin by removing the topsoil and levelling the area. This involves excavating several inches of soil to create a uniform flat surface.
Insider Tips:
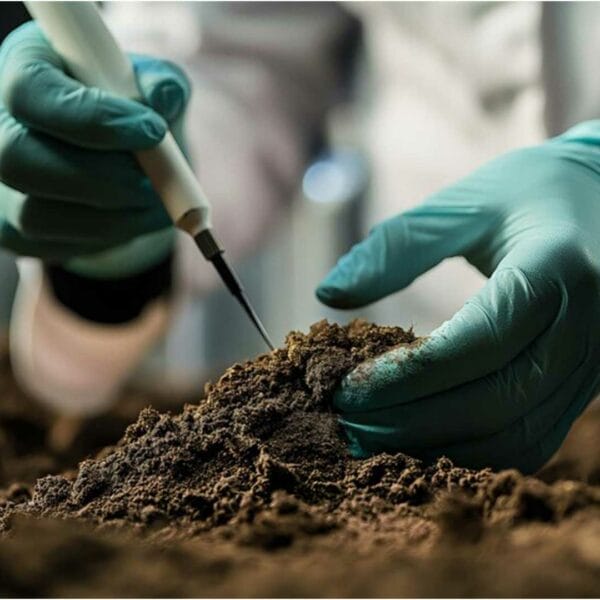
- Soil Testing: Conduct soil tests to determine its composition and suitability. Amend the soil if necessary to achieve the right balance for a stable sub-base.
Once the excavation is complete, a layer of gravel is typically spread across the area to enhance drainage. This gravel layer should be compacted using a vibratory roller to ensure stability. The compacted gravel creates a firm, permeable layer that prevents water from pooling beneath the court.
Step 4: Lay the Base
Following the sub-base, the next step involves laying the base, which serves as the foundation for the turf. A layer of sand or sandy loam is often used. This material supports the turf and helps with drainage, ensuring that excess water can move freely away from the surface.
Key Steps:
- Compaction: Just like the sub-base, the base layer needs to be compacted thoroughly to ensure stability.
- Levelling: Use laser levelling tools to ensure the surface is perfectly flat, as any irregularities can affect gameplay.
Once the sand layer is in place, additional amendments such as fertilizers or pH adjusters can be added to optimize conditions for grass growth. This step is critical for creating a resilient playing surface that can withstand the rigours of tennis.
Step 5: Lay the Grass
Now comes the most anticipated step; laying the grass. The choice of grass is crucial, as it must withstand intensive wear while providing a consistent playing surface. Common choices include perennial ryegrass and creeping bentgrass, both of which offer durability and a smooth playing experience.
Insider Tips:
- Sod vs. Seeds: Opt for sod if you want a quicker establishment. Seeds, on the other hand, are more economical but require a longer establishment period.
Carefully lay the sod or plant the seeds, ensuring even coverage across the entire court. If using sod, roll it out in straight lines, staggering joints to avoid weak spots. It’s vital to water the grass immediately after installation to promote rooting and establishment.
Step 6: Maintain the Grass
Maintenance is where many courts falter. A grass tennis court requires continuous care to remain in peak condition. Regular mowing, watering, and fertilization are essential to keep the grass healthy and the playing surface consistent.
Maintenance Schedule:
- Mowing: Keep the grass at a height of 8-13mm, mowing at least twice a week during the growing season.
- Watering: Ensure the court receives about 1 inch of water weekly, adjusting for rainfall.
- Fertilization: Apply fertilizers periodically to promote dense growth and resilience.
Additionally, aeration, top-dressing, and pest management are crucial components of a comprehensive maintenance plan. These practices prevent compaction, improve drainage, and protect the grass from diseases and pests.
Conclusion
Building a grass tennis court is a monumental task that demands precision, patience, and a deep understanding of both horticulture and sports engineering. While converting a clay or hard court into a grass court is feasible, it requires careful planning and execution to ensure success. Each step, from site selection to ongoing maintenance, plays a pivotal role in achieving a pristine playing surface that embodies the elegance and tradition of lawn tennis. Whether for personal enjoyment or professional use, a well-constructed grass court stands as a testament to the meticulous care and expertise of its creators.
For further insights into maintaining your grass court year-round, visit this guide.
By following these detailed steps, you can create a grass tennis court that not only meets but exceeds expectations, offering an unparalleled playing experience for years to come.
Frequently Asked Questions
Can a clay court be converted into a grass court easily?
Converting a clay court to a grass court is a complex process.
What materials are needed to convert a hard court to grass?
You will need soil, grass seeds, and proper drainage materials for conversion.
How long does it take to convert a court to a grass surface?
The conversion process can take several weeks, depending on conditions.
Who can perform the conversion of a court into grass?
Professional contractors with experience in sports surface installation can help.
Is it worth converting a court to grass from a financial perspective?
While initial costs are high, grass courts can offer unique benefits.
What if my court has drainage issues; can it still be converted?
Addressing drainage issues is crucial before converting to ensure success.

