Healing the Green Heart
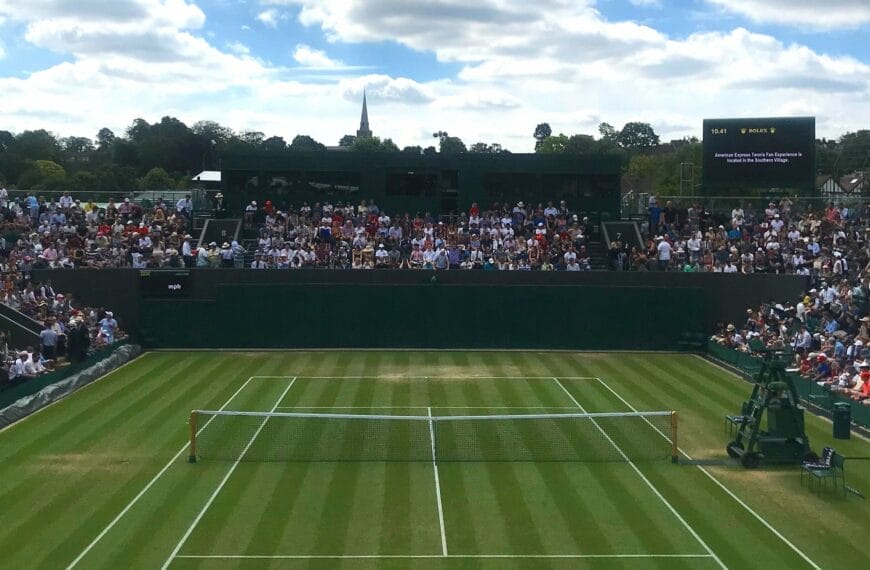
The perfect serve, the lightning-fast volley, the triumphant slide on the baseline—every great moment on a grass tennis court leaves its mark. Over time, these moments of athletic brilliance, concentrated in high-traffic zones, can lead to worn or damaged areas. For dedicated clubs like ours at www.grasstennisclub.com, these aren’t just blemishes; they are signs of a well-loved court that needs a little tender care to maintain its championship-level performance.
The abstract provides a clear roadmap for this crucial process: Worn or damaged areas can be repaired by re-seeding or patching with sod. Begin by loosening the soil in the affected area, then apply a layer of compost or sand. Spread grass seed evenly, lightly rake it into the soil, and water thoroughly. For larger patches, lay down sod and ensure it is firmly pressed into place. This guide isn’t just about fixing a problem; it’s about restoring the court’s integrity and ensuring its longevity.
Diagnosing the Damage: Where and Why Worn Spots Occur
Before we can begin to heal the court, we must understand the nature of the wounds. Worn spots are most commonly found in predictable locations:
- Baselines: This is the most heavily trafficked area. Players constantly stop, start, and pivot here, leading to soil compaction and thinning grass.
- Service Lines: The area where players hit their serves and receive the return is a hot spot for foot traffic and repeated impacts.
- The Center of the Court: While less a problem on single courts, the area between the baselines gets a lot of action during a game, especially during doubles play.
These areas wear down due to a combination of physical abrasion from shoes, soil compaction from repeated pressure, and a lack of sunlight or air circulation. The grass simply can’t recover fast enough to keep up with the demand. This leads to bare spots, uneven surfaces, and a compromised playing experience.
The Repair Kit: Seed vs. Sod
Choosing between re-seeding and patching with sod is the first major decision in the repair process. The choice depends on the size and severity of the damaged area, as well as the timeline for court use.
- Re-seeding: This is the most common and cost-effective method for small to medium-sized bare spots. It’s a great solution for the subtle thinning that occurs at the baselines and other high-wear areas. Re-seeding allows the new grass to integrate seamlessly with the existing turf. The downside is that it requires time for the seeds to germinate and the new grass to mature, making the court unusable for a period.
- Sod Patching: For larger, severely damaged areas where the soil is completely exposed, patching with sod is the fastest and most effective solution. Sod provides an instant, mature turf cover, minimizing court downtime. It’s an ideal choice for a sudden, large-scale patch of damage. The drawback is that it’s more expensive and requires careful installation to ensure the sod roots properly and blends with the surrounding court.
At our club, www.grasstennisclub.com, our grounds team often uses a combination of both, re-seeding the smaller, less critical areas and reserving sod for the larger, more urgent repairs.
The Re-seeding Process: A Step-by-Step Guide to Restoration
Re-seeding a worn area is a simple yet meticulous process that requires patience and attention to detail.
Step 1: Preparation is Key
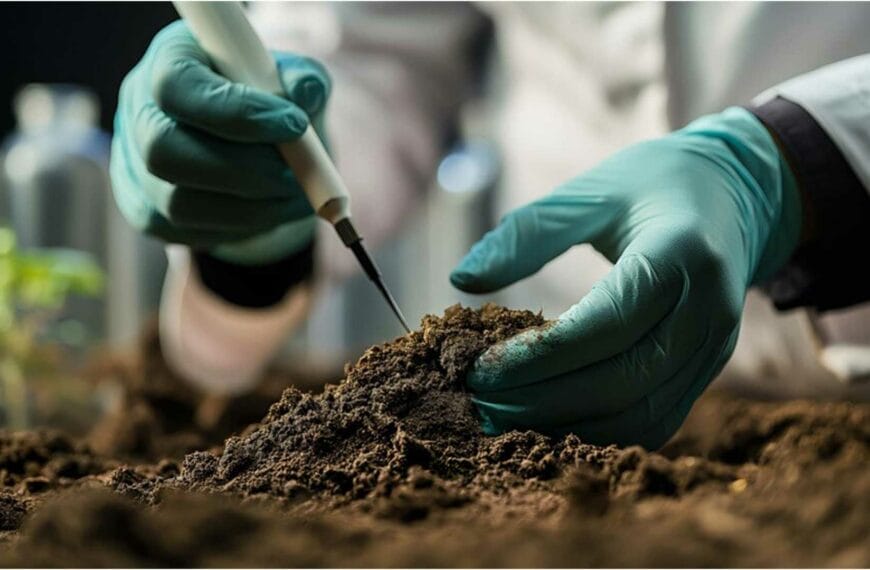
First, you must prepare the soil. Using a garden rake or a small hand cultivator, gently loosen the soil in the affected area. This breaks up any compaction and creates a soft, welcoming bed for the new seeds. Remove any debris, rocks, or dead grass to ensure the seeds have direct contact with the soil.
Step 2: Nourish the Ground
Once the soil is loose, apply a thin layer of compost, sand, or a soil repair mix. This amendment provides essential nutrients for the new seedlings and improves the soil’s structure, ensuring better drainage and aeration. Rake this layer into the top inch of the existing soil.
Step 3: Sow the Seeds of Success
Spread the grass seed evenly over the prepared area. It’s important not to over-seed, as this can lead to crowded, weak growth. A good rule of thumb is to apply about 10-15 seeds per square inch. Lightly rake the seeds into the top 1/4 inch of soil to ensure good seed-to-soil contact. This also helps to protect the seeds from birds and wind.
Step 4: The Final Touch – Water and Wait
This is the most critical step. The newly seeded area must be kept moist. Water thoroughly immediately after planting. For the next several weeks, the area should be watered daily with a light spray to keep the top layer of soil consistently damp. Avoid heavy watering that could wash the seeds away. Depending on the type of grass, you will begin to see sprouts in 7-14 days.
For more detailed information on grass seed germination and how to properly re-seed a lawn, this article from the Scotts brand provides a great resource for best practices: How to Repair Bare Spots in Your Lawn.
The Sod Patching Process: Instant Gratification, Expert Care
For larger, more urgent repairs, sod is the clear winner. While it offers immediate coverage, it requires careful installation to ensure it takes root properly.
Step 1: Prep the Area
Just like with re-seeding, you must start with a clean, loose soil bed. Use a flat-edged shovel to remove the old, damaged turf. The area should be dug to a depth that will allow the new sod to sit flush with the surrounding court. This is crucial for maintaining an even, level playing surface. Loosen the soil at the bottom of the trench and add a layer of compost or sand.
Step 2: Lay the Sod
Carefully lay the sod patch in the prepared area. Ensure the edges of the sod fit tightly against the surrounding turf, leaving no gaps. Use a lawn roller or a flat-edged board to firmly press the sod into place. This ensures good contact between the sod’s roots and the soil underneath.
Step 3: Water, Water, Water
Sod is very thirsty. It has been cut from its root base and needs water to re-establish itself. Water the sod patch thoroughly immediately after laying it. For the next two weeks, the sod should be watered daily to keep it moist. As with re-seeding, avoid overwatering, but ensure the new sod is not allowed to dry out.
Step 4: The Wait is Almost Over
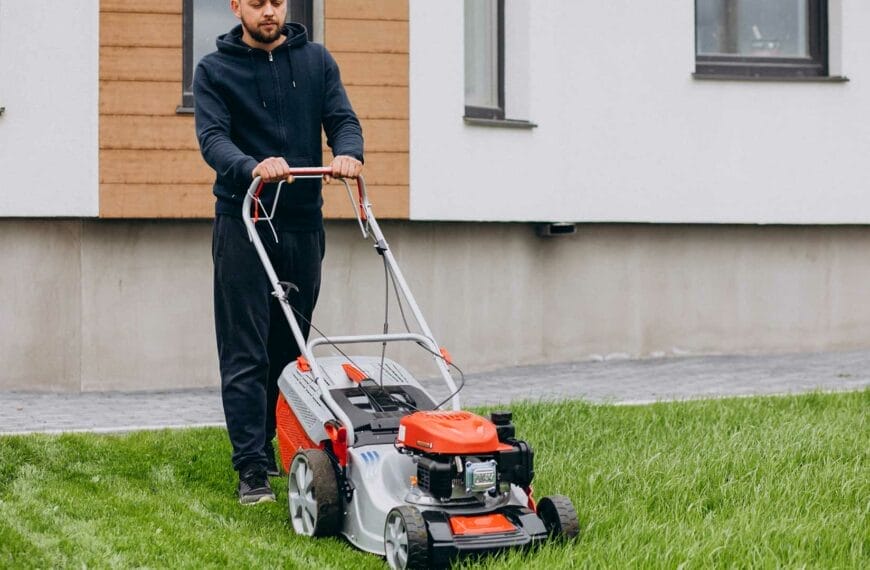
The sod will begin to take root within two weeks. At this point, you can gently tug on a corner of the patch to see if it resists. If it does, you know the roots have begun to anchor. Once the sod is firmly rooted, it can be mowed along with the rest of the court.
For an excellent visual and step-by-step guide to


