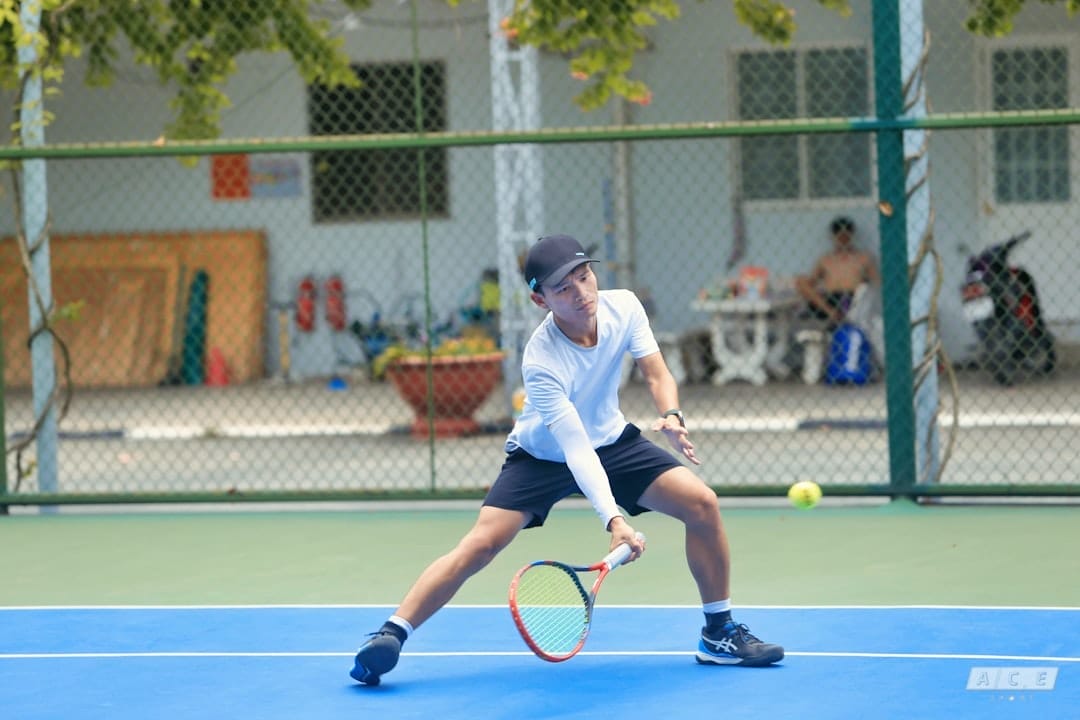
Mastering a world-class tennis forehand requires more than just raw power or endless practice. It demands precision, technique, and a deep understanding of biomechanics. After 14 years of coaching and refining the art of the forehand, Grant VanderHayden shares a proven system that breaks down the shot into eight essential phases. Whether you’re struggling with timing, power, or consistency, mastering these phases will transform your forehand, making it more powerful, fluid, and effortless (Photo by Hoi Pham on Unsplash).
This comprehensive guide walks you through each phase step-by-step, highlights common mistakes, and provides actionable tips to build a world-class forehand in tennis and elevate your game. Dive in and build your forehand from the ground up.
Table of Contents
- Step 1: Perfect the Split Step to React Faster and Cover Less Court
- Step 2: Adjust Your Footwork for Efficient Court Coverage
- Step 3: Execute the Unit Turn to Generate Effortless Power
- Step 4: Master the Backswing to Unlock Wrist Lag and Racket Flip
- Step 5: Accelerate with Relaxation and Big Muscle Activation
- Step 6: Achieve the Perfect Contact Position
- Step 7: Follow Through with Consistency and Spin
- Step 8: Recover Quickly with Efficient Movement Patterns
- Putting It All Together: Blueprint for a World-Class Forehand
- Frequently Asked Questions
Step 1: Perfect the Split Step to React Faster and Cover Less Court
Have you ever felt slow or late to get to the ball on your forehand? The root cause often lies in neglecting the split step, the foundational movement that primes your body for explosive reaction.
Watch any professional tennis match, and you’ll notice that every elite player lands a split step with impeccable timing, technique, and positioning. Here’s what you need to know:
- When to split: Execute your split step just as your opponent is about to make contact with the ball. This timing allows you to tap into the natural elasticity of your muscles, enabling a quicker and more powerful push-off.
- How to split: Your feet should be wider than shoulder-width apart, with your weight balanced on the balls of your feet. Then, hop up one to three inches. This small jump activates the elastic properties of your tendons, similar to how basketball players load up before a dunk.
- Where to split: Position yourself to cover about 50% of your opponent’s options. For example, if you hit cross-court, split on the cross-court side. If you hit down the line, move closer to the centre. At the net, mirror your opponent’s position to cover their available shots effectively.
Mastering the split step reduces the distance you need to cover, enabling faster and more efficient court coverage.

Step 2: Adjust Your Footwork for Efficient Court Coverage
If you feel tired quickly during matches, inefficient footwork may be the culprit. The pros have an uncanny ability to cover large distances while appearing effortless, and this comes down to two simple principles:
- Big steps for big distances: When you need to cover a lot of ground, rotate your hips and take cross steps, much like a sprinter. This allows you to maximise speed and efficiency.
- Small shuffle steps for close range: When near the ball, take smaller, quicker shuffle steps to maintain balance and readiness.
A common mistake many players make is shuffling sideways with their body facing forward, which limits speed and increases fatigue. Imagine trying to run from a tiger by shuffling sideways. You’d get caught! Instead, rotate your body and sprint to shots requiring more distance.

Step 3: Execute the Unit Turn to Generate Effortless Power
Frustrated by feeling late or jammed on your forehand? The unit turn phase is your game changer. The unit turn involves rotating your entire body as one unit, allowing your big muscles to generate power smoothly.
Focus on these key checkpoints during your unit turn:
- Rotate your chest at least 90 degrees so your shoulders face the net.
- Position your elbow back in line with your shoulders, creating a powerful loading position.
This rotation allows you to drop your racket fluidly and accelerate using the larger muscles in your legs, hips, and torso, rather than relying solely on your arm. It’s the foundation of a powerful, effortless stroke.

Step 4: Master the Backswing to Unlock Wrist Lag and Racket Flip
The elusive wrist lag and racket flip are crucial for generating topspin and power. Regardless of your arm style—straight or bent—these three checkpoints are essential:
- Your right arm should be in a straight line with your shoulders or roughly aligned with your right hip.
- The racket must be positioned above your hand by extending your wrist (wrist extension).
- The racket should be oriented away from your body at a minimum 45-degree angle.
Achieving these positions allows forward acceleration to create the counterlagging force in the racket, producing a powerful whip-like effect on the ball.

Step 5: Accelerate with Relaxation and Big Muscle Activation
Many players tighten their wrist and forearm muscles when swinging hard, which ironically reduces power and control. The secret lies in the activation relaxation spectrum—activating your large muscles while keeping the smaller ones relaxed.
When accelerating your forehand:
- Keep your wrist and forearm relaxed to allow a smooth, natural whip.
- Drive power from your legs, hips, torso, pectoral, and shoulder muscles.
- Let your arm travel on an arc path away from your body as you accelerate.
By focusing on this, you’ll feel a pleasurable sensation in your chest and experience effortless power. One effective drill is to lightly grip the racket and even remove your pinky and ring finger for enhanced relaxation. Then, hand-feed balls to yourself and practice accelerating with relaxed wrists and engaged big muscles.

Step 6: Achieve the Perfect Contact Position
At contact, every top player shares two crucial checkpoints:
- The elbow is positioned in front of the chest at about a 45-degree angle, creating biomechanical leverage.
- The wrist is extended so that the racket is roughly in line with the hand, with the palm oriented straight towards the net.
This positioning allows maximum force transfer from the big muscles to the ball, producing a fluid, powerful strike. Avoid flexing your wrist forward at contact, as this wastes energy on smaller muscles and often causes wrist pain or inconsistent shots.

Step 7: Follow Through with Consistency and Spin
Have you noticed that the harder you swing, the less consistent your shots become? This is often due to improper follow-through mechanics. The pros maintain an extended wrist throughout the finish, avoiding wrist flexion that causes balls to sail long.
Focus on these three anatomical motions during your follow-through:
- Adduct your arm forward: Move your arm on a straight path toward the net.
- Flex your arm upward: Raise your arm smoothly as you complete the movement.
- Internally rotate your shoulder: This rotation brushes the racket forward, generating heavy topspin, not your wrist.
Executing these motions creates a powerful, consistent, and spin-heavy forehand that feels effortless.

Step 8: Recover Quickly with Efficient Movement Patterns
After striking the ball, how you recover determines your readiness for the next shot. The most common mistake is taking small shuffle steps backwards, which slows your reaction time.
The pros, especially when needing to cover large distances after a shot, take large cross steps with proper hip rotation to quickly reset their position. This efficient recovery keeps you balanced and ready to attack or defend.

Putting It All Together: Your Blueprint for a World-Class Forehand
By mastering these eight phases, split step, foot positioning, unit turn, backswing, acceleration, contact, follow-through, and recovery, you’ll gain a comprehensive blueprint for executing a dominant forehand. Each phase builds upon the previous one, creating a seamless flow from preparation to recovery.
With this system, you’ll not only add power and spin but also develop confidence and consistency. Even on days when your shots aren’t perfect, you’ll have a clear path to improvement, knowing exactly what to focus on next.
Remember, the dominant eye in tennis plays a vital role in your split-step positioning and shot execution. By aligning your body and gaze properly, you enhance your ability to read the ball and react faster, giving you an edge over your opponents.
Ready to transform your forehand? Dive deep into these phases, practice deliberately, and watch your game soar.
Frequently Asked Questions
Why is the split step so crucial for a powerful forehand?
The split step primes your muscles to react explosively by utilising the elastic properties of your tendons. It reduces the distance you need to move and improves your reaction time, laying the foundation for an efficient forehand.
How do I avoid wrist pain when hitting forehands?
Maintain wrist extension throughout your swing and avoid flexing or hinging your wrist forward. Focus on driving power from your larger muscles, such as your pecs and shoulders, while keeping your wrist relaxed.
Can these phases help beginners improve their forehand?
Absolutely. These phases provide a clear, structured approach that beginners can follow to build solid technique from the start, avoiding bad habits and developing consistency and power over time.
This article was created from the video 14 Years of Forehand Knowledge in 17 minutes